Gem Creation
Available for Partners only
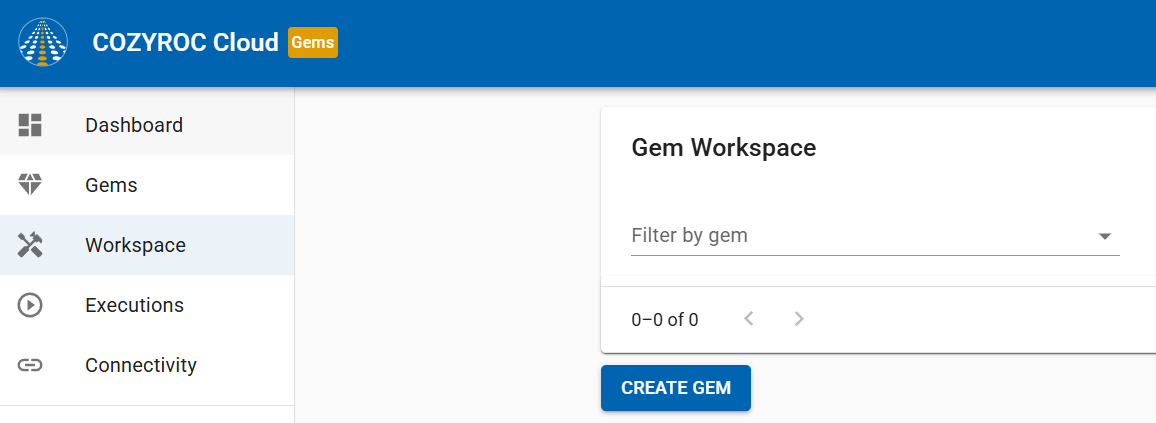
To create a gem, navigate to the workspace section and click on CREATE GEM button.
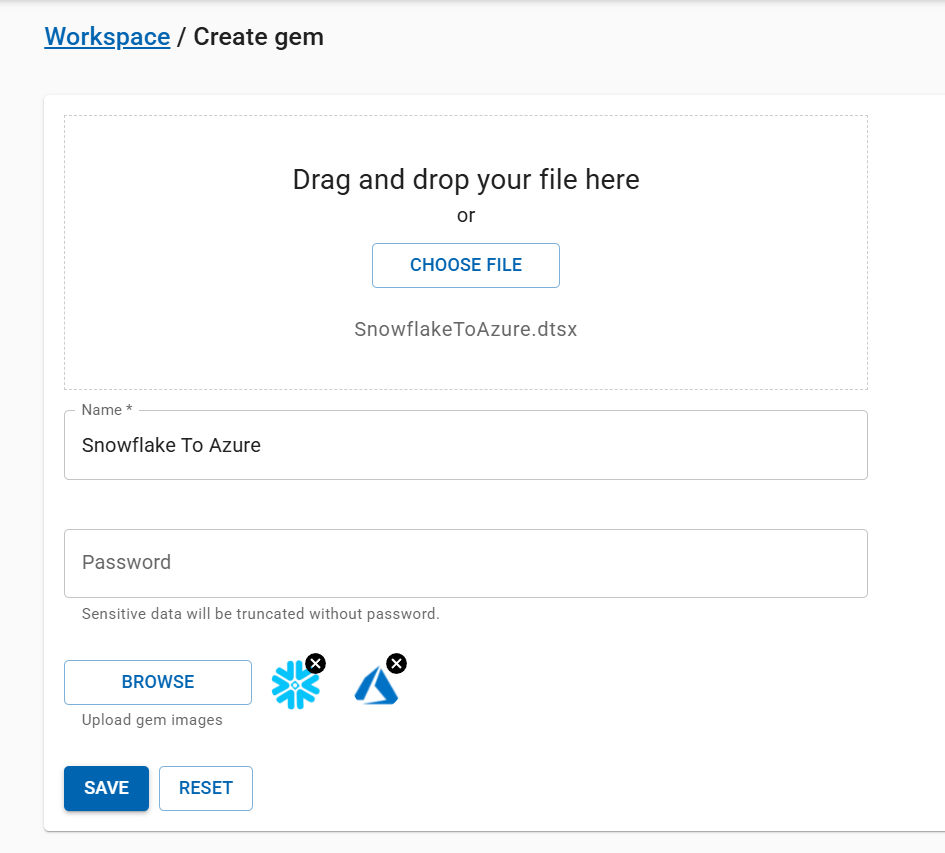
Next, upload gem package, fill the required fields and click SAVE.
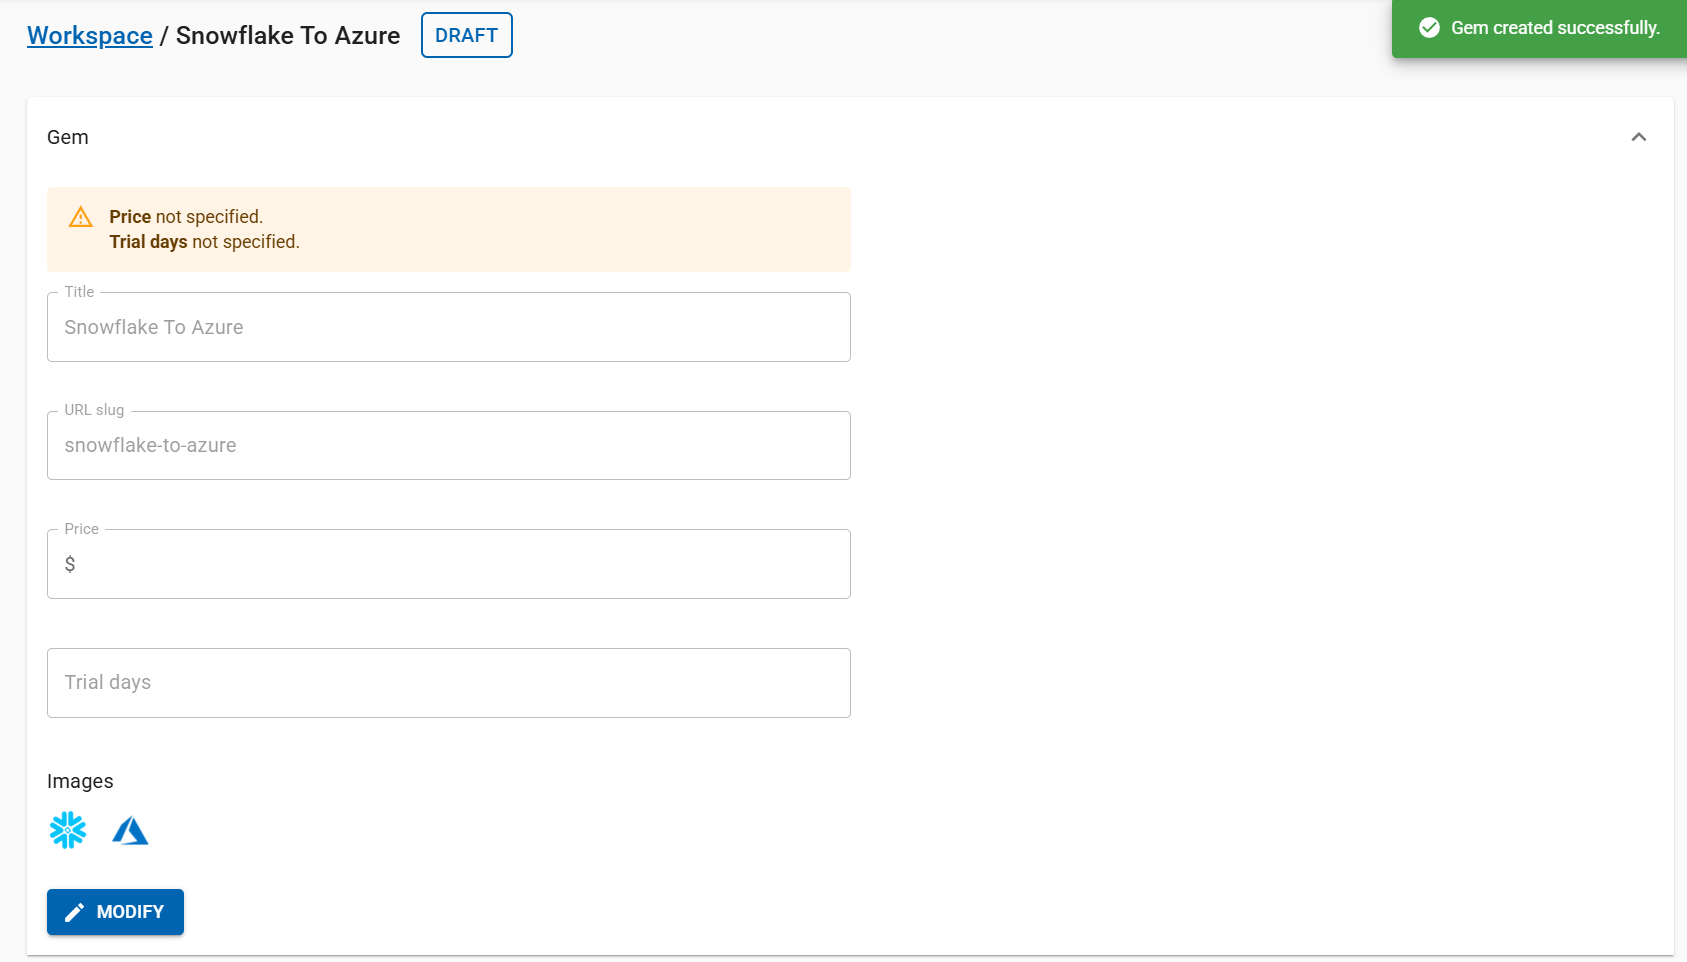
Once initiated, the GEM upload process will begin, and you'll automatically be taken to the gem's details page. Initially, the GEM will be marked as a Draft. For more information about the various stages a gem can go through, refer to the article on gems workflows.
On that page you can:
- Edit gem metadata
- Edit gem details and description
- Configure gem parameters
- See a list of all versions
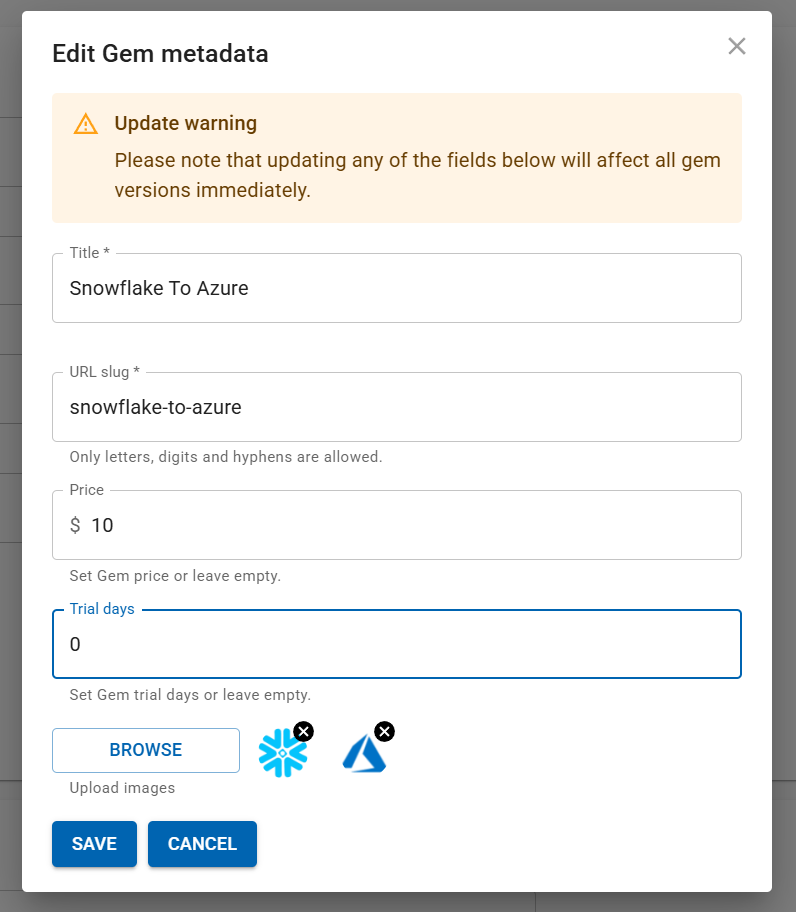
Edit gem metadata
Expand the Gem panel.
Click MODIFY.
The edit gem metadata window will appear before you.
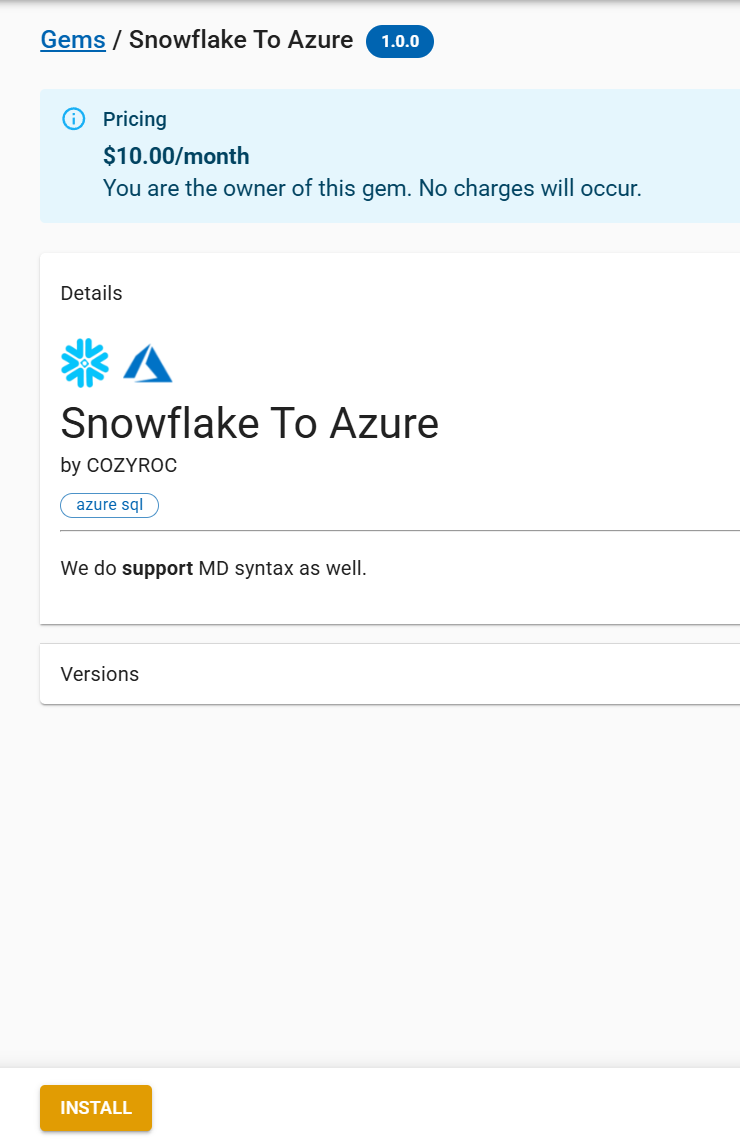
If you want your GEM to be listed as Free in the public gems collection, you can leave the price and trial days at 0. Otherwise, you have the option to set specific values for these fields.
In this particular article, we'll assign a cost of $10 and set the trial period to 0 days. Click Save.
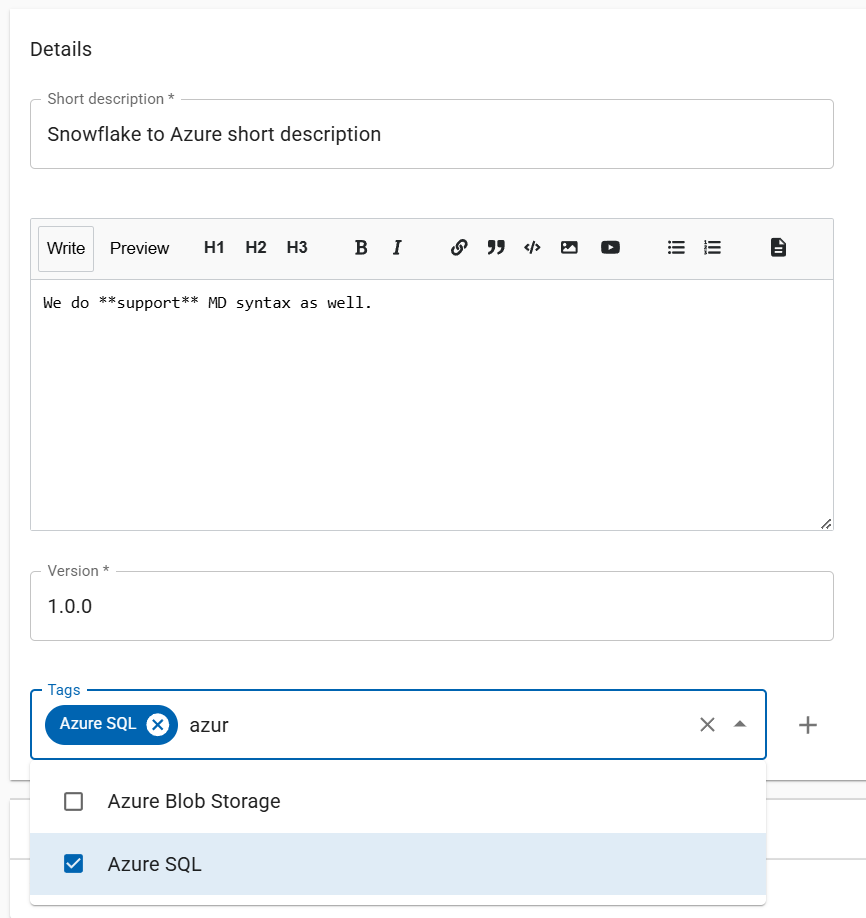
Edit gem details
Expand the Details panel.
In this panel you can:
- Set short description - The short description should be a brief summary of the gem functionality. It will be displayed in public gem gallery list.
- Set full description - This description will function as the Gem documentation for your future customers. Markdown syntax is supported.
- Set gem version - Semantic versioning is supported.
- Select appropriate tags for your gem from the existing list, or create a new tag by clicking the
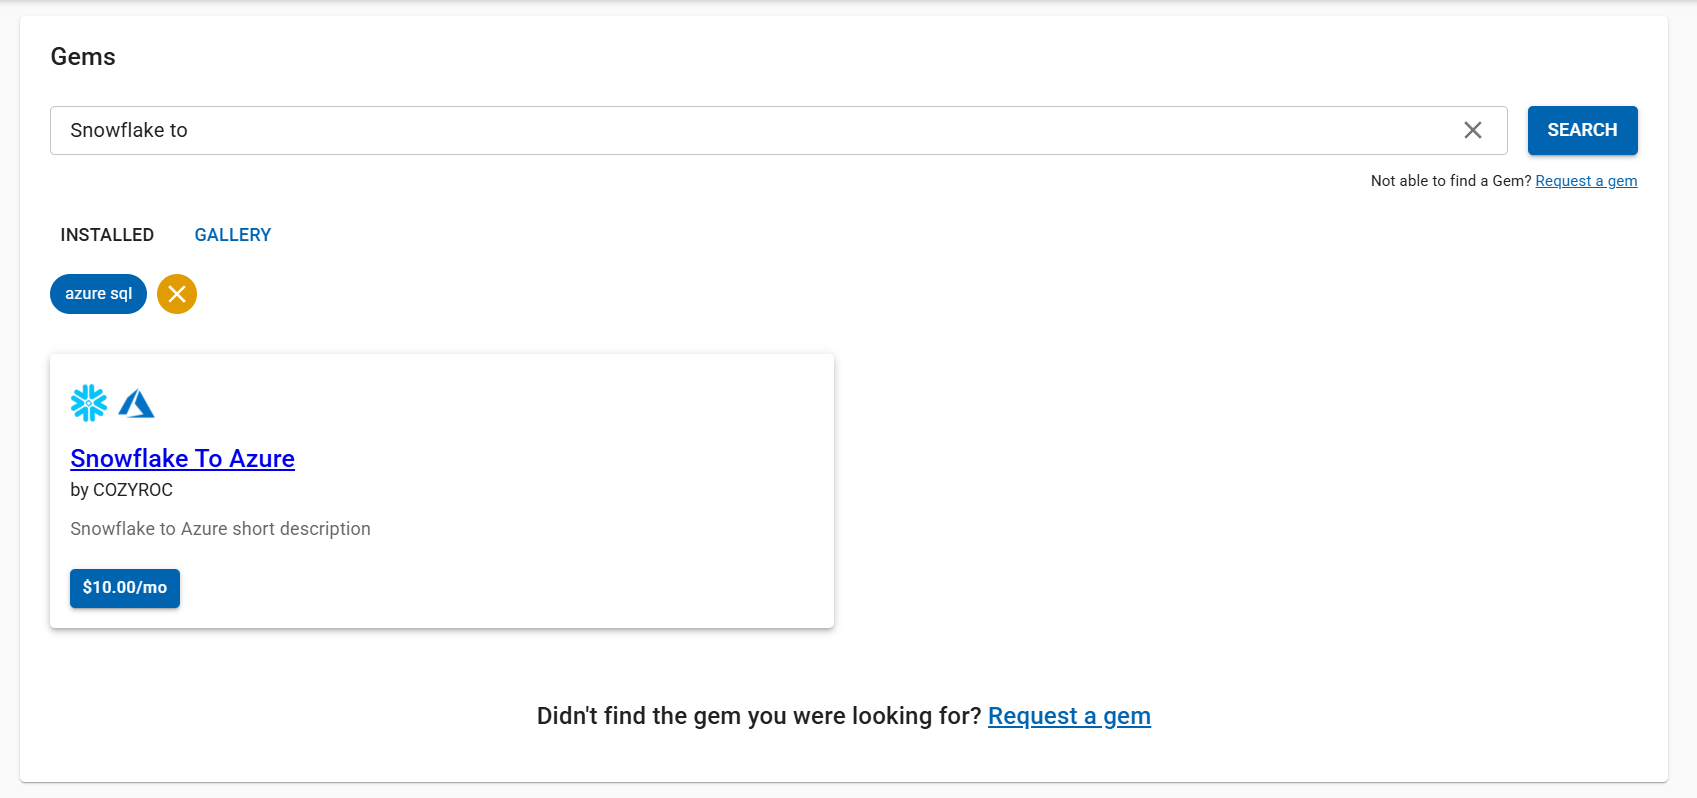
+icon. Once your gem is published and available in the gallery, these chosen tags will be displayed on both the overview and detailed information pages. You can also search by them in the gallery collection.
Configure gem parameters
To complete your gem's setup, it's essential to configure the gem parameter Groups. Users who install your gem will only be able to see and interact with the parameters included in these groups.
To do so, expand the Parameters panel and click on CUSTOMIZE UI tab.
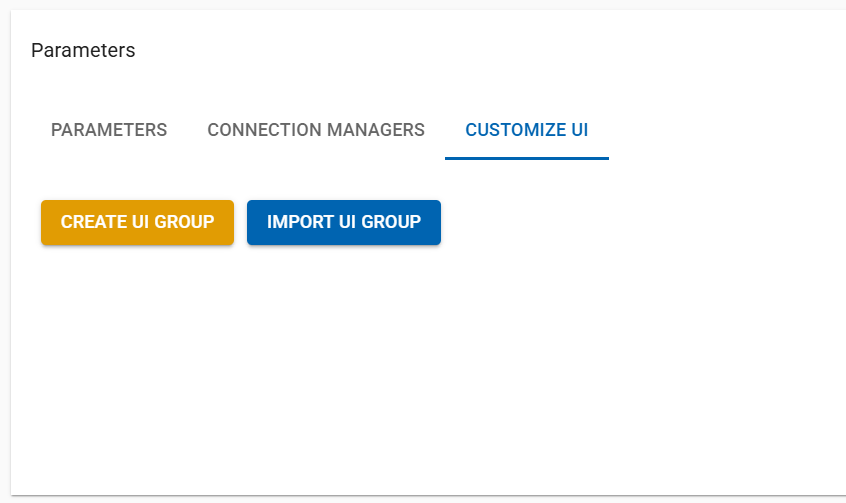
Then click CREATE UI GROUP.
For the purpose of this article we are going to create two groups with name:
- Snowflake
- Azure
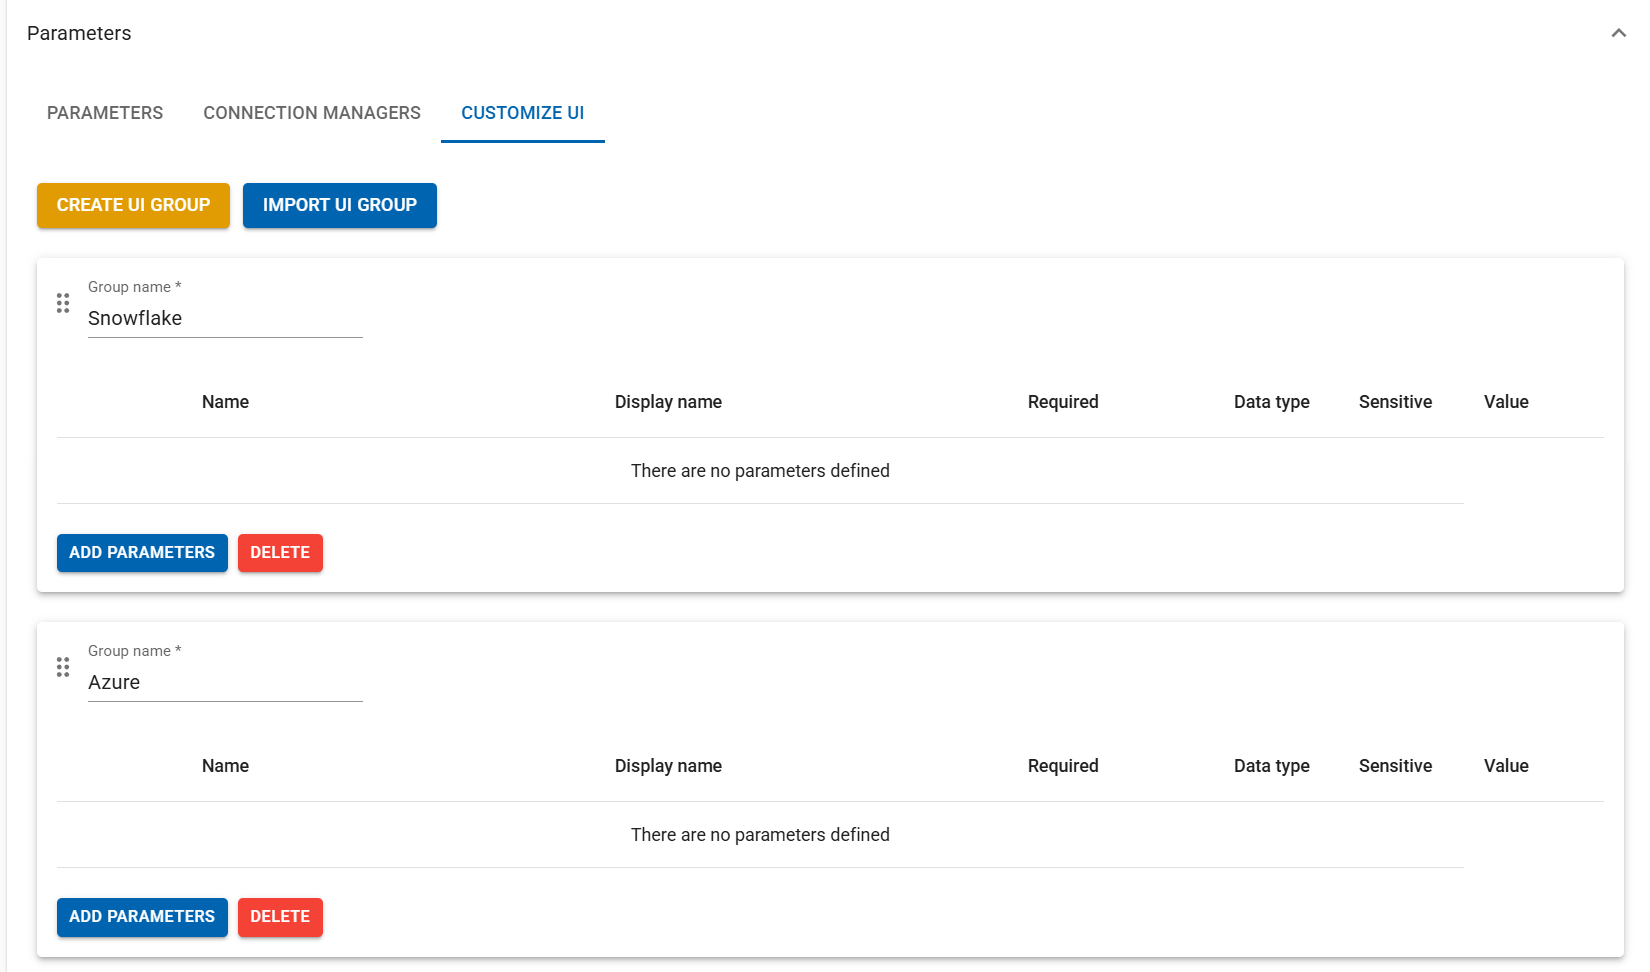
Next, it's necessary to include at least one parameter in each group.
Click on ADD PARAMETERS button to include parameters. Only add those parameters that you intend for users of the gem to see and modify.
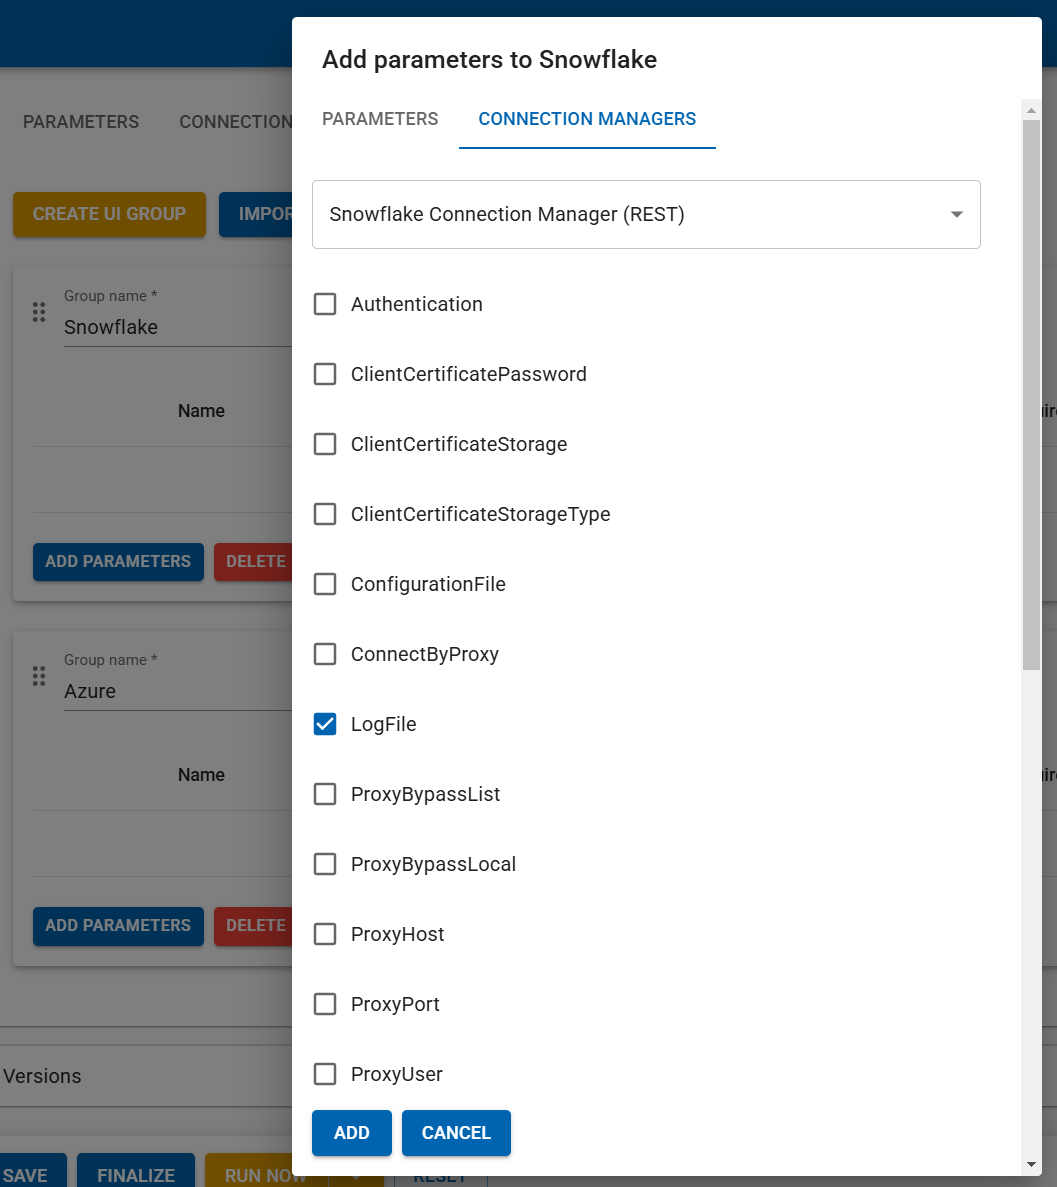
Click ADD. Once added, the parameters will be displayed within their respective groups.
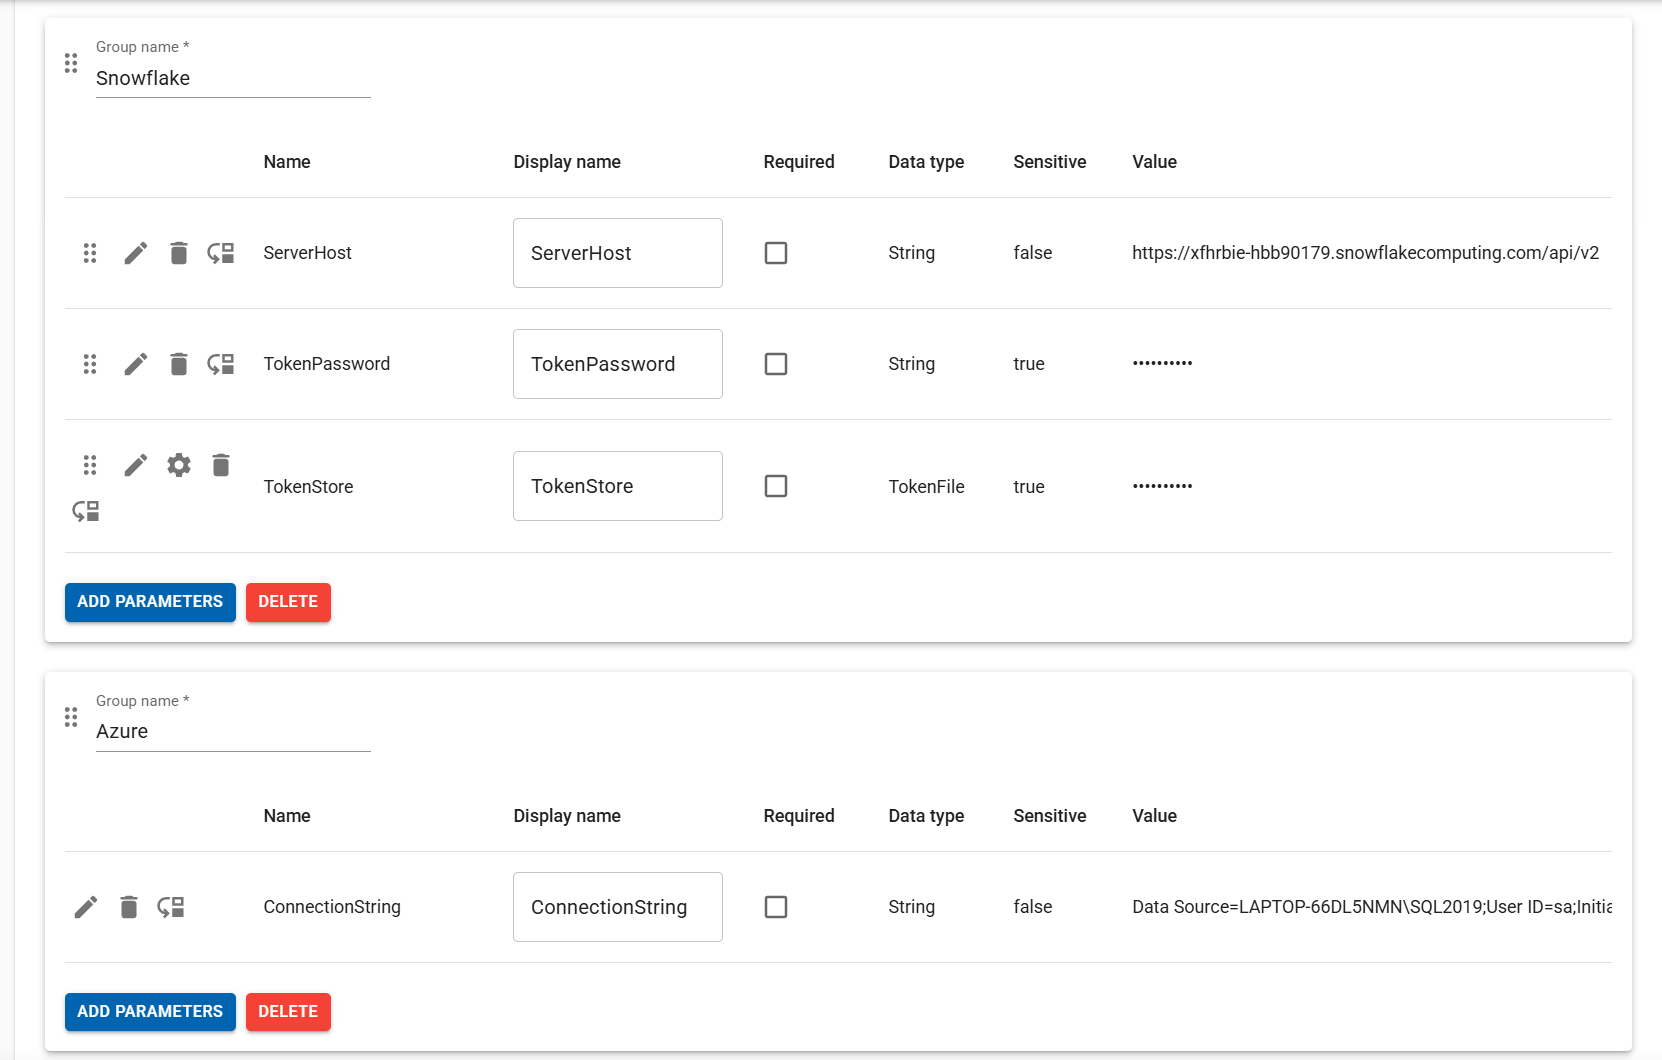
Click SAVE to save your settings.
Finalize gem
Once you've completed the configuration process, you can proceed by clicking on FINALIZE and then click YES.
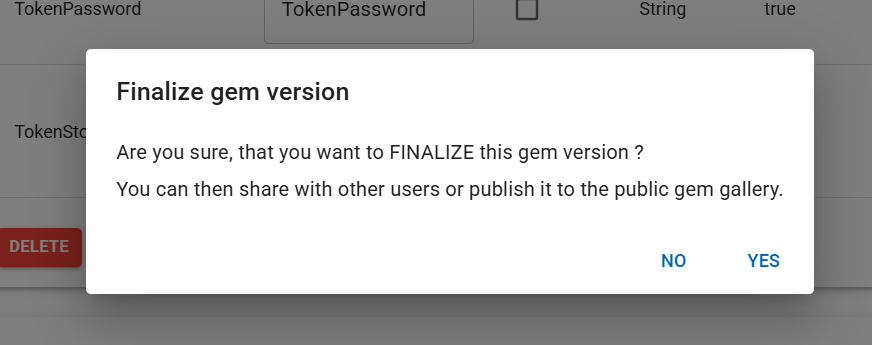
The GEM status will become from Draft to Private.
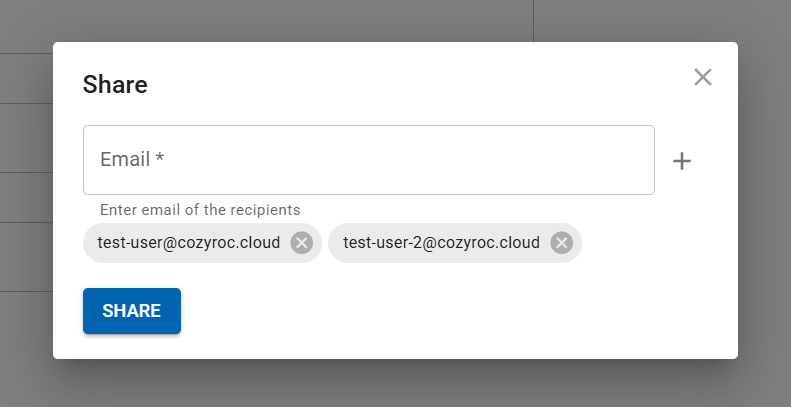
Share gem
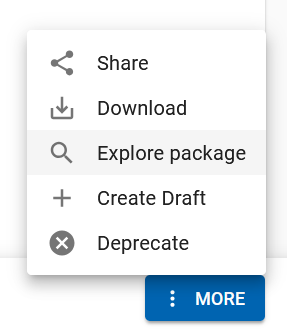
You can share your private gems with anyone by clicking on the MORE menu.
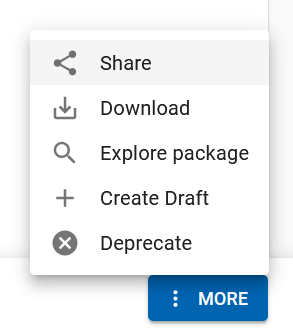
Enter the email of the recepient and click SHARE. Multiple recepients are supported.
Explore gem package
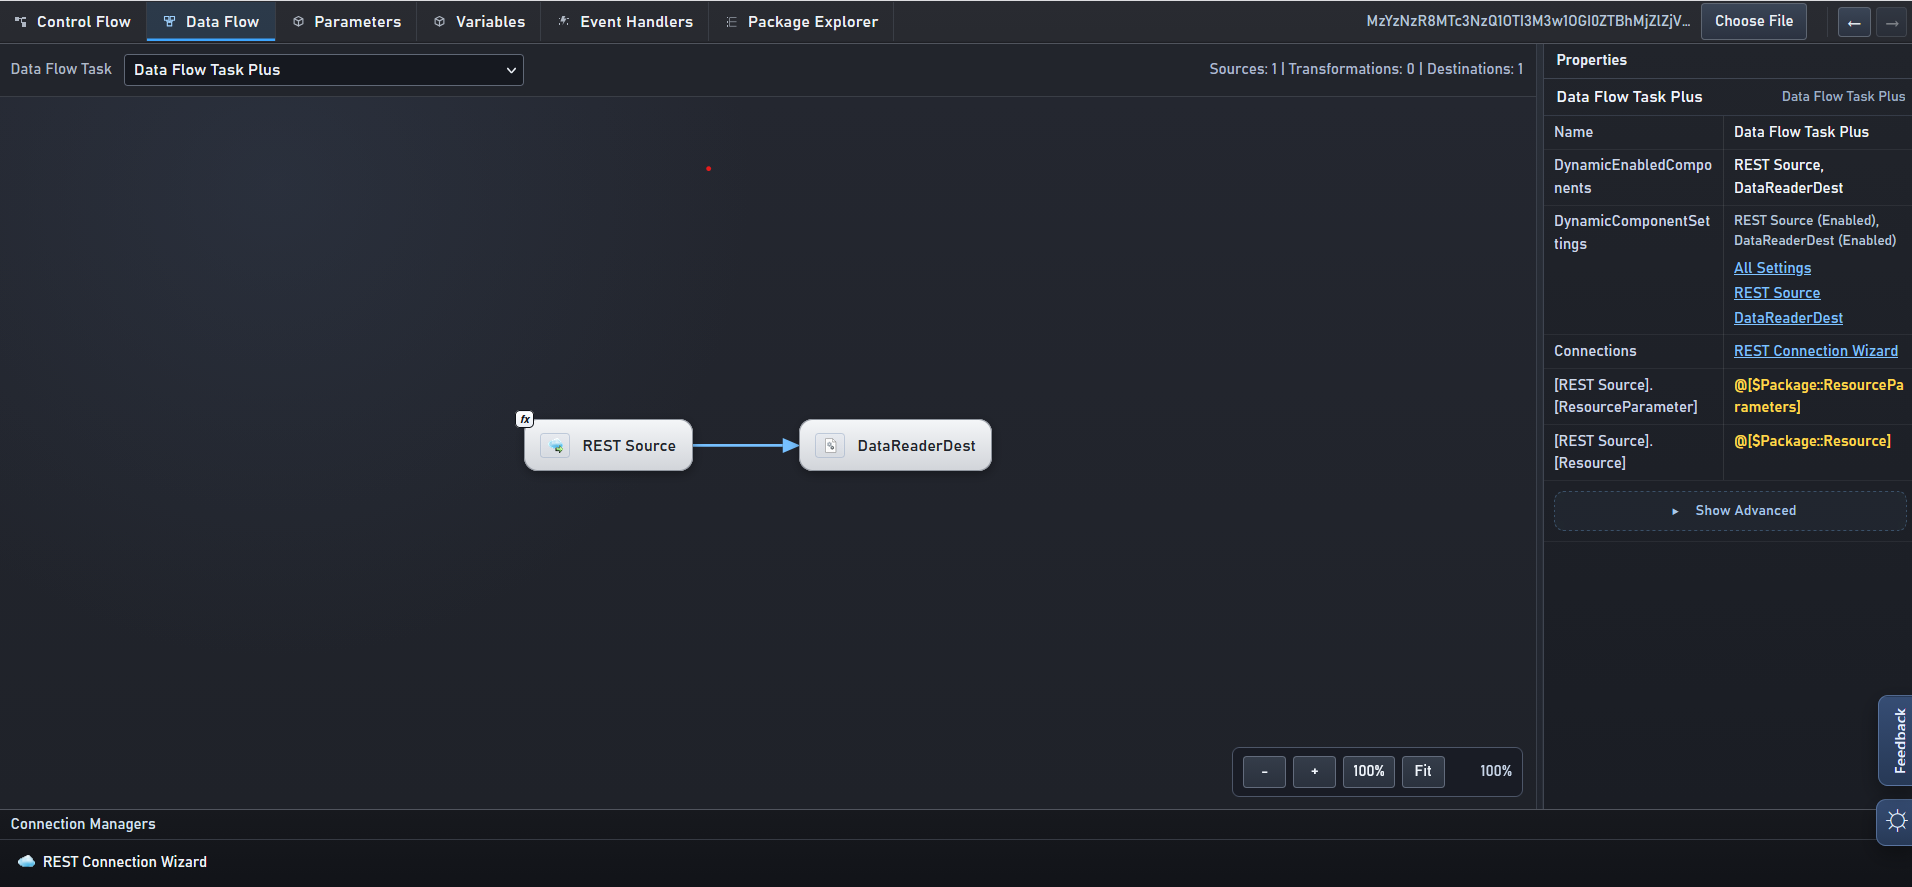
You can quickly explore your package with our Pygmy SSIS package viewer by clicking on Explore package button after upload.
Then you will be redirected to Pygmy and the package will be loaded.
Keep in mind that everyone with the link can view the package. The TTL of the link is 30 minutes.
Preview gem
To preview how the GEM page will appear to users you've shared it with click on VIEW PRIVATE PAGE button. The private page:
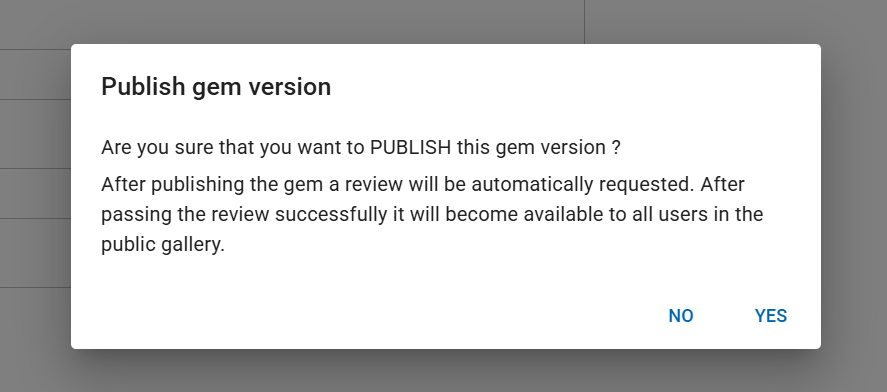
Publish to the public gallery
By clicking on the PUBLISH button an approval process will start. The status of the GEM will turn from Private to In Review and an approval request will be sent.
After your GEM receives approval, it will be displayed in the public gallery and will be visible for all users.